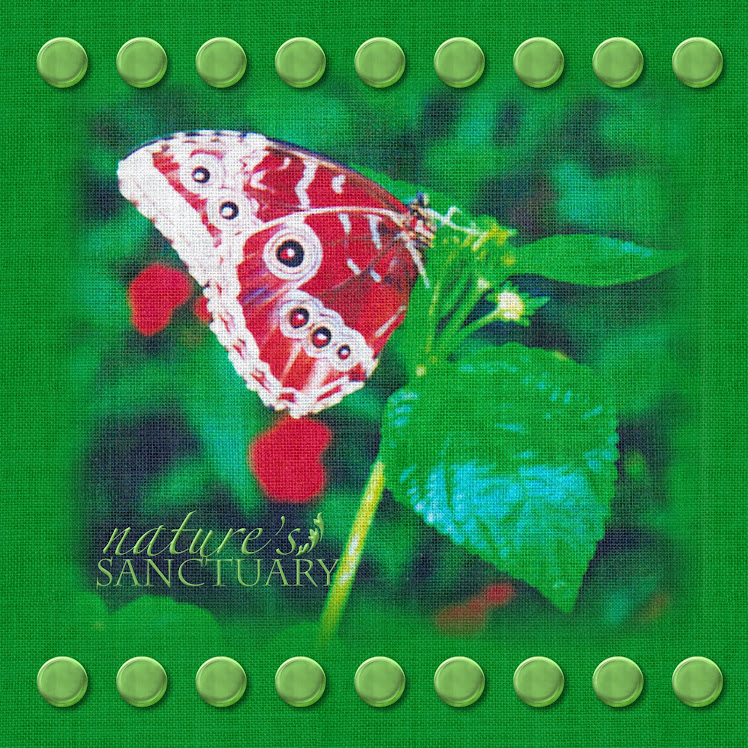
Ok, I have uploaded another template. I made it for the page you see using the Sending Love LTD. Edition collection, (but you could use it for anything.) Contact me to get this collection before it's unvailable!
Note: I am no longer uploading anything with Creative memories content on it. This link is for a completed template, all the work is done, just highlight each element, go to the paper and select "fill selected shape" and add paaper and then embellishments. You can see what I have done with it and use my instructions to do the same, or make your own version!First of all let me explain how to do the page. I added my background then using the shapes cutter under content cut out a square. If you right click on it you can unlock the aspect ratio and make it the shape and size you need, (you can also hold down the shift key while moving a line to change the shape, a quick way to unlock it.) . It doesn't matter at this point if you fill it in or not. You go to the Cut & Fill tab, then to the Straight Cutter and click on the arrow under it, then click on shaped edge! For this one I used a (punched arch I believe.) You will need to adjust the type of shape and the sliders to get the cut you want. Once you have it go ahead and make your cut. You can then fill it in with the paper you want to use in it. Copy and paste it to make all the copies you need then fill each one with the paper chosen. The bottom mat was cut out using the drop down arrow on the right side of the paper, then choose cut out shape and choose the square, (or you can create a square and fill it in, these will give you two diferent looks with certain papers, play with it and see.) The middle mat was created in the following way and it's a neat little trick! Put a photo frame on the page under the insert tab, then copy and paste it, but
only one will be used for a photo. Take the other one and first fill it with any photo, it doesn't matter which one. Once it has a photo in it you can then fill it with any paper, but it won't do it if you just try it with an empty frame. The advantage to this is that you can use the matting tool under Format Photos, just as you would on a photo, you can't do this to a shape you have cut out! You can use the same color mat on both frames or use different ones. For my frame rather than fill with paper I chose a color using the color sampler tool, (you can choose a gradient also.) I then went to the Format tab and added a surface, I chose lace, (that's a great tool to play with, I also like the wrinkle 2 surface, it looks like fabric, velvet even with some colors.) Ok, now we have our mats, photo frame and other shapes, just arrange those as you like them. For the hearts I used an embellishment from the Sending Love collection, and after selecting it I went to the Format tab and used the Film Grain filter with the slider as high as it would go, several times to get a glitter effect. After completing one I copied and pasted it to get a second one, then for it I went to the Arrange tab to the Rotate section, and used the bottom right selection to "Reverse it horizontally." That's a great tool to use, there is also a vertical one beside it. This is how I got the hearts facing each other so to speak. The only thing left was to add my word art, fill it with a gradient using the color sample tool, then use the Film Grain filter to add glitter to it. I then used the 3D filter on them once also. I used the 3D filter a couple of times on the 4 shaped pieces of paper to make them stand out, that's optional, then addded shadow to everything.
To download just choose save, (do not try to open it at the time you are downloading it.) Save it to a folder for your templates or on your desktop, wherever you can easily find it. You will then open SBC and choose Import Page and you will have a live template to insert photos into. This is a 12x12 page and will need to be put into a storybook of the same size, (you can later shrink it as long as the ratio is the same, (ie: 8x8) but you must begin with the size I made the page.
If you have problems or questions feel free to let me know.I would love feedback about the pages so please leave a comment! I would like to know which pages people like best for future reference. Please visit my web site, www.mycmsite.com/tammygillespie, or my Facebook group, Tamela's Scrapbooking Divas. I will have more pages to come so check back. If you like a page or the blog, please use the SHARE tab at the top left, click it to post on FB, Twitter, and more.
Enjoy the page and have a great day!
Tammyaefa7a47-d847-4c26-9e49-0fed7bf9c2c1.page


No comments:
Post a Comment