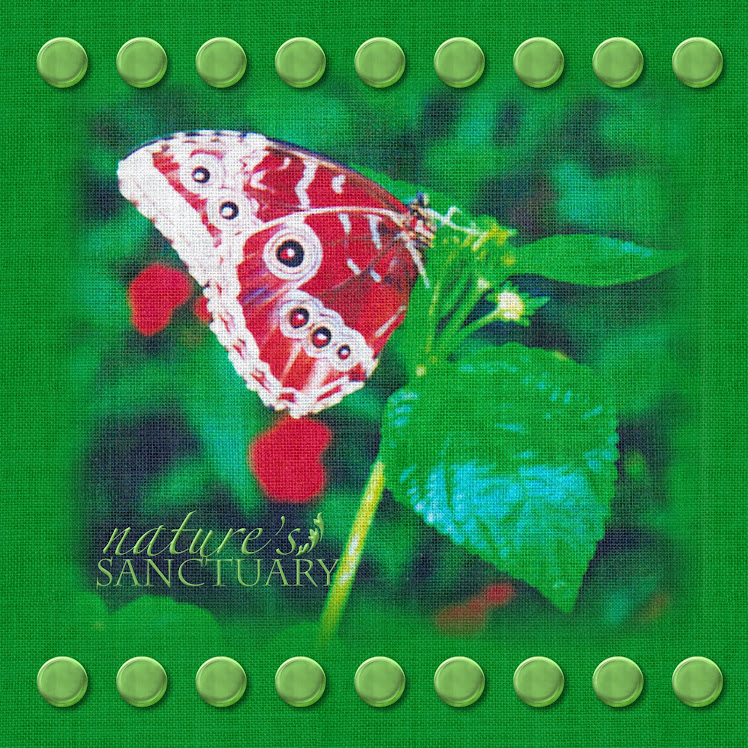
I designed this template to be used with the Cottage Garden Collection, but it could be used with anything. You will find the link at the bottom of the posting.
I used Paper 11 as the background, then placed paper 4 on the page and using the rectangle cutter under the cut and fill tab, I cut out this mat. For the next one you can either repeat this step using paper number 12, or you can copy and paste the first mat then fill it with paper 12. It will look different depending on which way you do it, especially if there is a pattern on the paper. If you have never played around with both ways you should, you can get 2 very different looks with some papers. I then went to the Insert tab, added a photo frame, right clicked and unlocked the aspect ratio and sized it, then copied and pasted to get the number needed. Next go to the Arrange > Allignment tabs and allign vertically and horizontally, also space evenly both ways using those tools. While all the photo frames are highlighted go to the Format Photos Tab then the Mat tool. This is a width of 2 I believe and I used the color sampler tool to match to a color on one of the papers. The Red Epoxy Brad came from the Cottage Garden collection. The flower and the butterfly came from the Digital Embellishments - Cottage Garden collection under embellishments. This is a 12x12 page and must be imported into a storybook or page that size. You can later shrink it to an 8x8 if you choose to. If you have questions please e-mail me at tgillespie67@aol.com and put CM in the subject. I would love to hear any comments or feedback you have, feel free to leave it!
If you need instructions on downloading, saving, or importing templates, all my oldest postings with templates have detailed instructions.
Have a great Friday and a Happy Easter!
Tammy


No comments:
Post a Comment